Quick answer
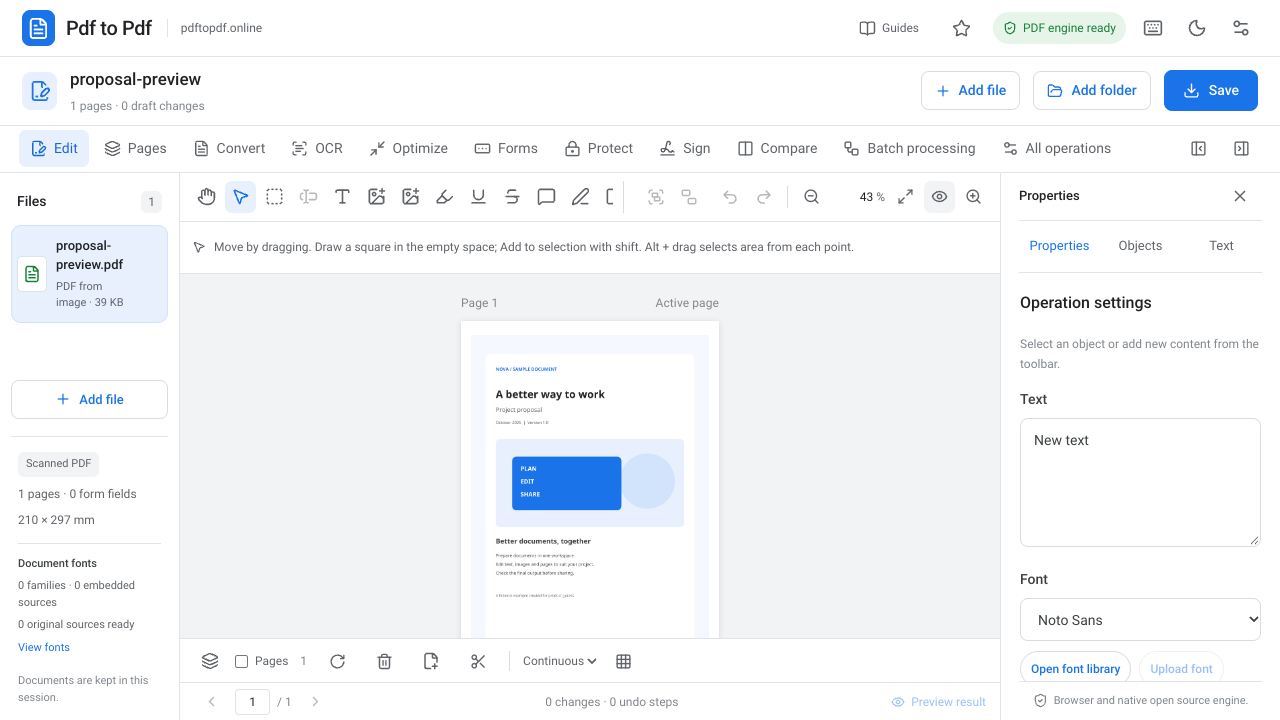
To add an image to a PDF, open the document in the studio, choose a file with the add-image tool, and place it on the page. When adding a logo, photograph, or diagram, check its size, aspect ratio, and relationship with other page objects as well as its position.
Editing an image already inside the PDF is a different task. An image may be linked to a clipping mask, rotation, or transparency group. Existing-image editing mode lets you select suitable source objects. For complex sources, pay attention to safety warnings and proceed with small changes.
What is in this guide?
Steps to add a logo or photograph to a PDF
Decide where the image will go before adding it. A logo placed too close to a page edge may be cut off during printing, while a photograph overlapping text can reduce readability. Zoom in to inspect the target area and use a source image with sufficient resolution where possible.
- Upload the file to the PDF editing studio and select the target page.
- Open “Add image” and select your logo or photograph file.
- Place the image on the page and drag it in selection mode to adjust its position.
- Adjust width and height with the resize handles or properties panel.
- Preserve the aspect ratio to reach the appropriate size without stretching the image.
- Download the PDF and inspect the image both at normal size and zoomed in.
Selecting and replacing an existing image in a PDF
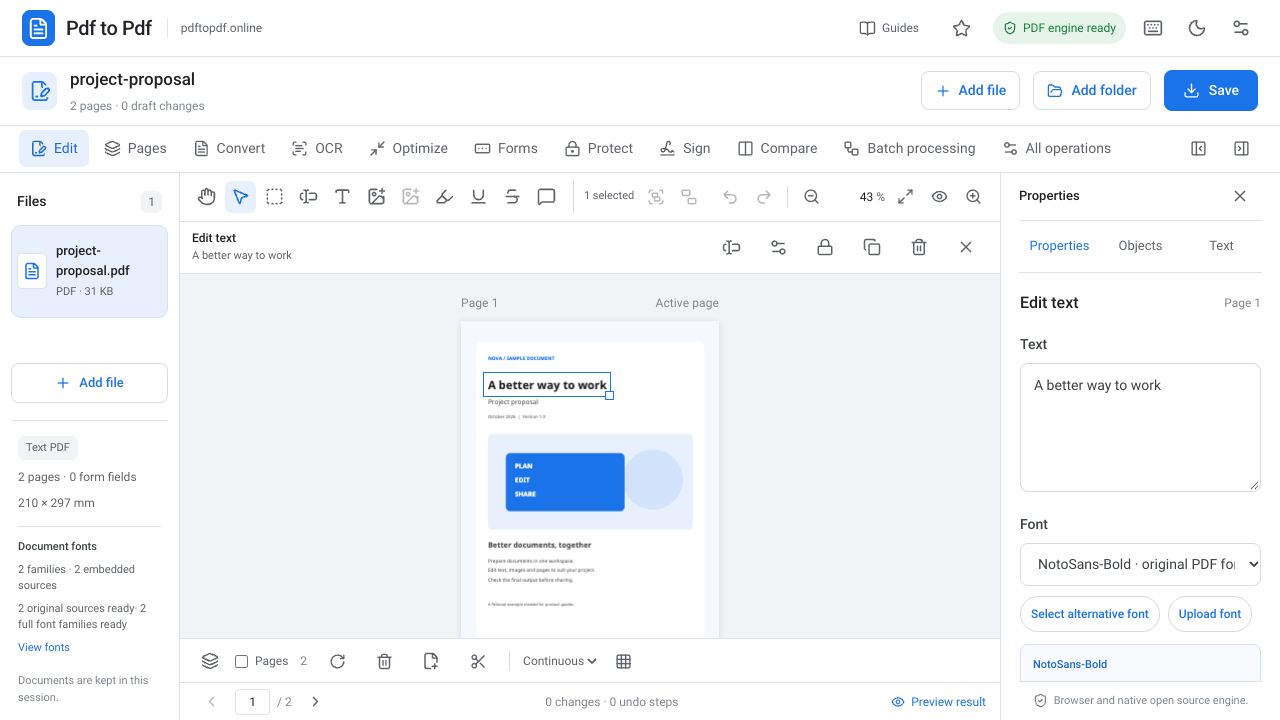
Click the target image in “Edit existing image” mode. This mode helps target an appropriate source image instead of text or a shape above it. Check the selected object boundary. Images next to each other, or repeated copies of the same image, may exist as separate objects on a page.
After selecting the object, you can move, resize, or replace its image. However, not every PDF image is a simple independent rectangle. If a source operation cannot be applied safely, evaluate the document through a separate output rather than forcing an object with a warning. Making a small move and inspecting the result is a more controlled first attempt than making a major change.
Preserving the aspect ratio and cropping an image
Resizing changes how much space an image occupies on a page. If you increase only its width without preserving the aspect ratio, people, logos, and circles can become stretched. Enlarging proportionally preserves shape, but it does not add detail if the source has too few pixels. A small web image may look blurry over a large printed area.
Cropping removes portions around the image edges. When adjusting crop margins for a newly added image in Pdf to Pdf, make sure enough of the image remains. For example, cropping to frame a person’s face can make sense; squeezing the whole photograph into a narrower space will not produce the same result.
Rounded corners and PDF image masks
A photograph that looks rounded in a PDF is often rectangular underneath; a clipping path creates the rounded appearance. Extracting the image alone or replacing it with a plain image can produce sharp corners if that relationship is lost. Reading image bytes alone is therefore insufficient to understand the visible design.
Source image editing needs to account for the visible clipping area and associated drawing order. After a change, inspect the photograph’s corners, frame, and background. Complex masks and transparency structures do not always allow the same editing freedom. Keep the original file for objects that produce warnings.
Selecting the right object among overlapping images and text
In catalog or presentation PDFs, a photograph may have a heading, frame, and translucent color overlay above it. Clicking a visible region does not always select the intended object. Narrow the selection with image editing mode. If the bounding box does not surround the image you expect, change the selection before editing.
When several objects need to move together, consider area selection and grouping in selection mode. Belonging to one group does not automatically convert all related source PDF drawing structures into one image. After each move, also check the objects’ alignment with one another.
How to check sharpness after editing PDF images
Workspace zoom and the source detail in an exported PDF are different concepts. A browser preview temporarily rendered at lower detail does not by itself show that the output has been damaged. Open the downloaded file in a PDF reader, zoom in on the same area, and compare it with the source image where possible.
Inspect more than the image you changed. Neighboring text, borders, and another page area should also be preserved. Enlarging an image does not necessarily increase file size or detail. If the document is intended for printing, a sample print at the actual usage size strengthens the final check.
- Are the photograph’s proportions, framing, and rounded corners correct?
- Is text above or below the image still in place?
- Does the image extend outside the page or become clipped?
- Do sharpness and transparency look the same in another PDF reader?
Frequently asked questions
Can I add a transparent logo to a PDF?
You can use a suitable image with a transparent background, such as a PNG logo. Inspect its edges on different page backgrounds after placement. A white background in the source file will be included with the image.
Why does an image become blurry when enlarged in a PDF?
The source image may have a limited pixel count. Resizing does not create new detail. You may need a higher-resolution source or a smaller placement size.
Can I edit every PDF image independently?
Not always. Clipping paths, transparency groups, or complex source structures can restrict editing. Use editable objects and pay attention to source safety warnings.
Are resizing and cropping the same operation?
No. Resizing changes the area occupied on the page; cropping removes content from image edges. Keep this difference in mind when fitting a photograph into a narrow space so that faces are not stretched.
Try this workflow on your document.
Open the appropriate tool in Pdf to Pdf, add your document, and check the result.
Edit PDF images