Quick answer
To make a PDF from JPG photographs, choose the images with Add file, set paper and placement options for the image pages, then click Import into studio. Several images can be collected in the same PDF document. The same page layout workflow also applies to other supported image formats, such as PNG.
The purpose is more than changing a file extension. The whole photograph needs to remain visible, face the right way and keep its writing readable. An incorrect fitting option can crop important information, particularly in photographs of documents. Checking a few simple settings before conversion reduces the need to start again afterward.
What is in this guide?
How to convert a JPG file to PDF online
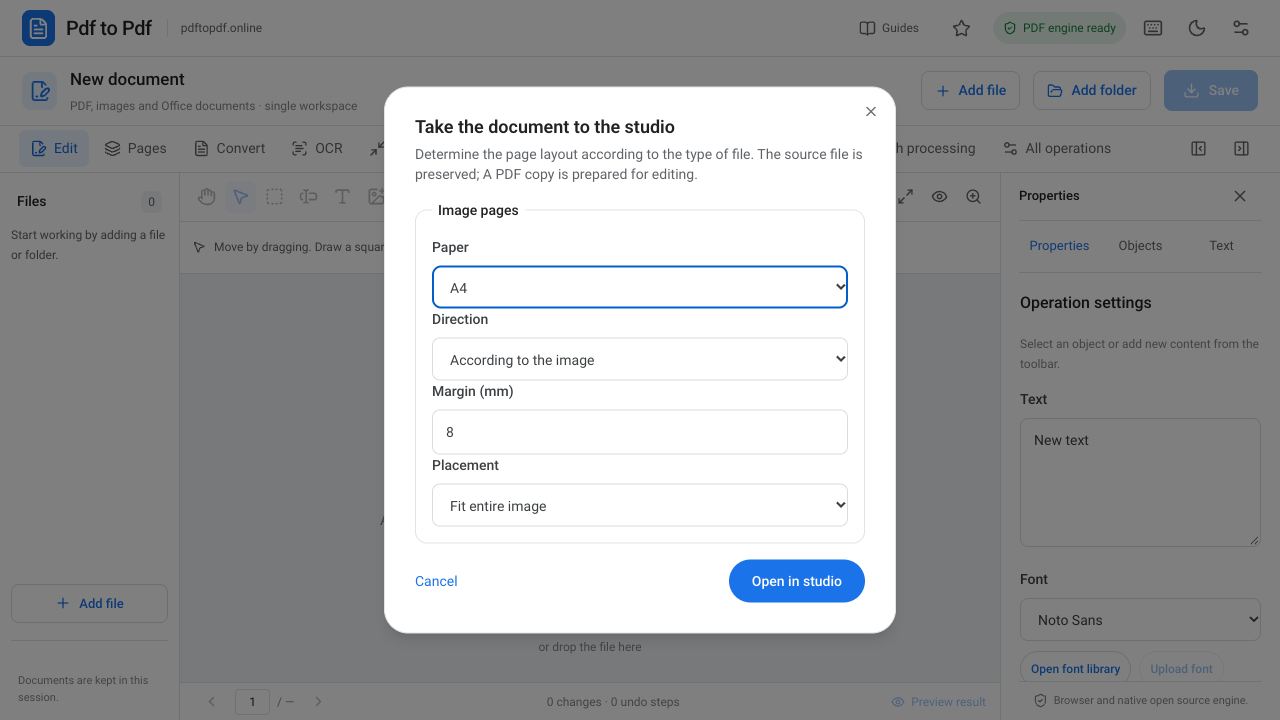
Choose one or more JPG images in the studio. The Import document into studio window includes an Image pages section. Set paper, orientation, margins and placement there. For a photograph of a document, A4 with Fit entire image is a suitable starting point for keeping the whole document inside the page boundaries.
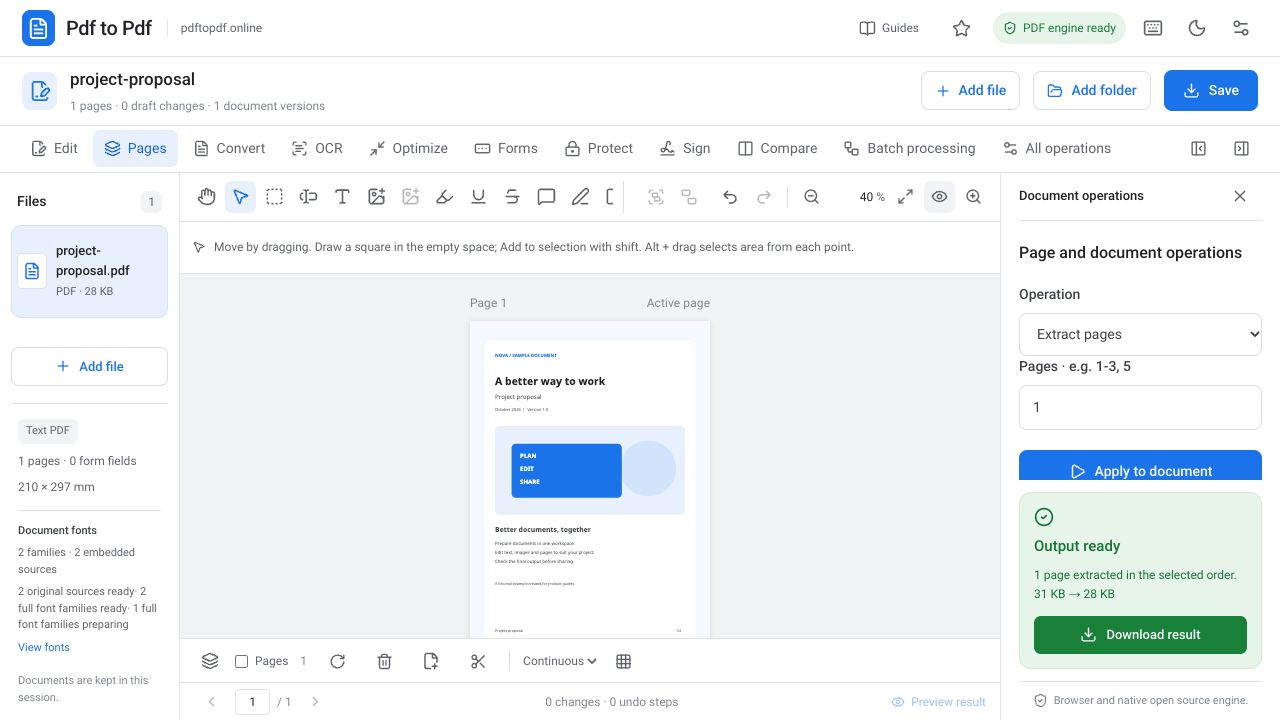
After clicking Import into studio, the generated pages appear in the workspace. Check photo order in the page strip at the bottom. When you select several images, the resulting document contains them together. Prepare the PDF with Save, then open the downloaded file and inspect the first and last pages as well as the pages in between.
- Choose JPG or other supported images with Add file.
- Set paper size and orientation in Image pages.
- Check margins and the Fit entire image option.
- Click Import into studio, review the pages and save the PDF.
Combine several images into one PDF and arrange them
An application may require front and back identification photographs, a signed form and supporting explanation images in the same PDF. Select all the images together and import them into the workspace. Check that the generated page order matches the submission requirements. File names containing dates or numbers make many source images easier to distinguish.
Do not send the PDF without reviewing the photos in sequence. Duplicate images and missing pages are common preparation errors. If you also have ready-made PDF appendices, open those separately and merge them in the Pages group. Collecting images into one document and merging open PDFs are different operations available in the same workspace.
Make an A4 PDF from JPG: paper size and orientation
Paper options such as A4, A3 and Letter create fixed page dimensions. Image size creates a page based on the picture, with the interface stating its 144 DPI equivalent. Evaluate that value separately for printing requirements. The image pixel count and the area it occupies in print jointly determine the actual level of detail.
For orientation, choose Based on image, Portrait or Landscape. Fitting a photograph of a wide table onto portrait A4 can make the text too small. Landscape orientation or larger paper may improve readability. If the recipient specifically requires portrait A4, follow that condition while checking the photograph's resolution and how densely the content is packed.
The difference between fitting an image and cropping it
Fit entire image places the complete image on the page; different proportions can leave blank space around it. Fill area covers the page with the image but may crop its edges. A setting that works for a decorative photograph may remove a date or signature from a document photo. Read the option name and check the preview.
Margins are specified in millimeters. For printing, avoid placing content too close to the edges; a smaller margin may be appropriate for screen sharing. If the photograph already has wide white borders, adding large margins again makes its text smaller. Assess the source frame first, then adjust the placement space on the PDF page.
Image quality and OCR when making a PDF from photos
Converting to PDF does not automatically sharpen writing in a blurred photograph. Capture the document in good light, without shadows and from as straight an angle as possible. A JPEG may already use lossy compression; repeatedly resaving the same image can increase detail loss. Use the clearest source file available.
The writing in a photo remains image content within the PDF. If you need text searching or copying, use recognition in the OCR group. After OCR, check numbers, proper names and accented or non-ASCII characters. Making an image PDF does not verify the authenticity of the document; the operation places the source image into a page layout.
Download the PDF and check its file size
Many high-resolution photographs can make a PDF large. Create the correct, complete document first, then reduce the size in the Optimize group if necessary. If an application portal has a file limit, work toward it while preserving small-text readability. After strong compression, inspect identification numbers and stamp details especially closely.
In the downloaded PDF, check the page count, orientations and any cropped areas. Confirm that all photographs appear in the correct order and format. If you are sending the file from a phone, ensure you choose the final PDF in your download folder. Preserve the photograph files so you can later prepare another output with different paper dimensions.
Frequently asked questions
Can I combine several JPG files into one PDF?
Yes. Select the images together and import them using the image page settings. Check page order in the generated PDF and save it as one document.
Does converting JPG to PDF make the writing selectable?
Image conversion alone does not create text objects. Use OCR if the writing needs to be searchable or copyable, and check the recognized content.
Why are the image edges missing in my PDF?
Fill area can crop edges when page proportions differ. Use Fit entire image to preserve the complete document, then check dates, signatures and edge text in the preview.
Try this workflow on your document.
Open the appropriate tool in Pdf to Pdf, add your document, and check the result.
Convert images to PDF